Introduction
Screen recording on a Chromebook can be incredibly useful for various purposes, such as creating tutorials, capturing gameplay, or recording meetings. Doing this with sound adds an extra layer of usefulness, making your recordings more comprehensive and engaging. This comprehensive guide will lead you through the process of screen recording on a Chromebook with sound. From setting up your Chromebook for recording to using built-in features, exploring the best third-party software, optimizing audio quality, and editing your recordings, we’ve got you covered. Let’s dive in and learn how to make the most out of your Chromebook’s screen recording capabilities.
Prerequisites and Setup
Before you begin screen recording on your Chromebook, there are a few prerequisites and initial setup steps you need to follow to ensure a smooth recording experience:
- Ensure your Chromebook is Updated: It’s essential to have the latest version of Chrome OS. Go to Settings > About Chrome OS and check for updates.
- Microphone and Sound Settings:
- Access your Chromebook’s sound settings by clicking on the time in the bottom right corner.
- Ensure your microphone is enabled and working properly.
- You can test this by using any audio recording feature, like Google Voice Recorder.
- Storage Space:
- Ensure you have enough storage space to save your recordings. Review and clear any unnecessary files if needed.
Having completed these prerequisites, you’re now ready to explore the various methods for recording your Chromebook screen with sound.
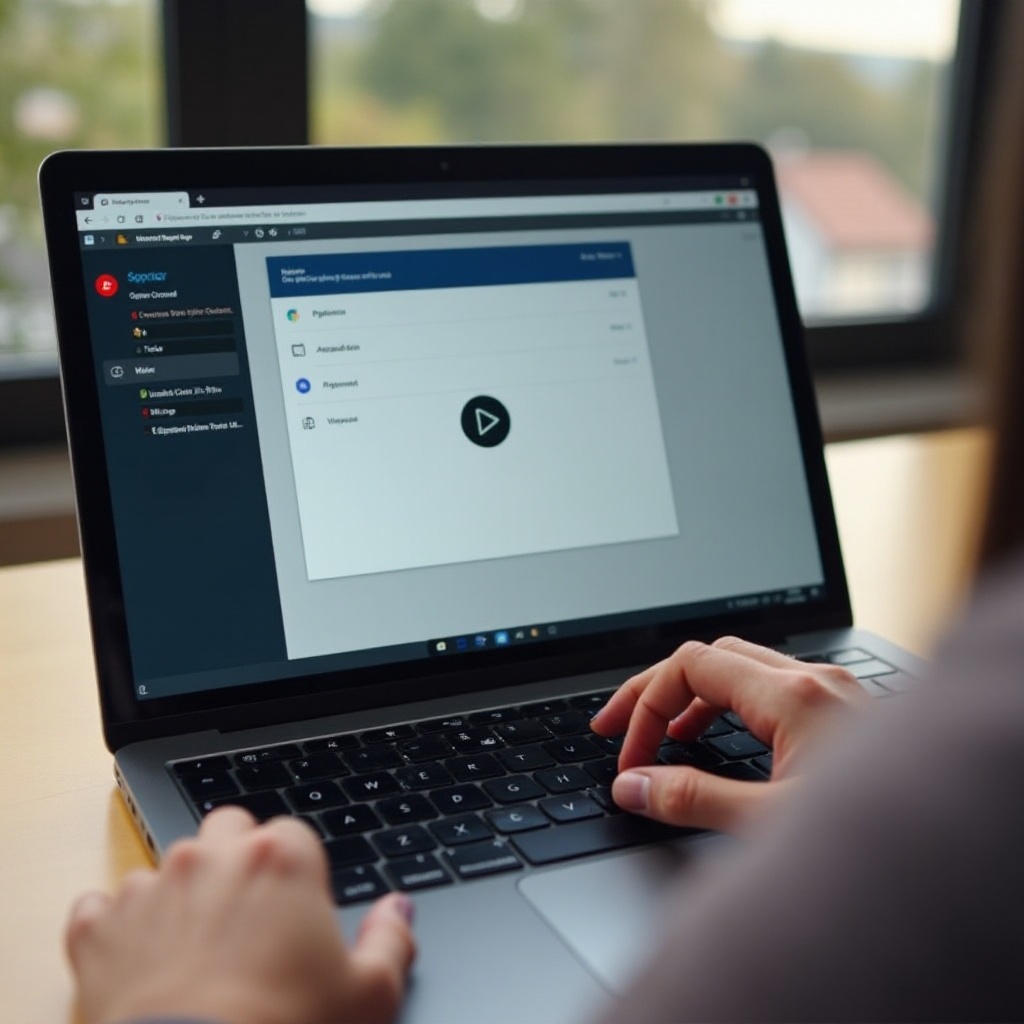
Using Built-in Screen Recording Features
Chromebooks come with built-in screen recording features that are user-friendly and efficient. Here’s how you can use them:
- Activate the Screen Capture Tool:
- Press
Ctrl + Shift + Show windows(the key with a rectangle and two lines). -
Choose the
Screen recordoption from the menu. -
Select Your Recording Area:
- You can choose to capture the entire screen, a specific window, or a selected portion.
-
To record sound, click on the gear icon and ensure the microphone is enabled.
-
Start Recording:
- Click the Record button to start.
-
Your Chromebook will begin recording after a brief countdown.
-
Stop Recording:
- Click the stop button in the taskbar or press
Ctrl + Shift + Show windowsagain.
Recording using these built-in features is simple and effective. However, for advanced functionalities, you might want to explore third-party screen recording software.
Best Third-Party Screen Recording Software
While the built-in features are practical for basic needs, third-party software offers enhanced functionalities like editing tools, cloud storage, and more customization. Here are three top picks:
Screencastify: Features and Setup
Features:
– Easy-to-use interface with no download required.
– Offers annotations, trimming, and merging features.
– Free version allows for 5-minute recordings.
Setup:
1. Install Screencastify from the Chrome Web Store.
2. Click on the Screencastify icon and follow the prompts to set up permissions.
3. Customize recording settings, including audio sources, before starting the recording.
Loom: Features and Setup
Features:
– Allows for unlimited videos up to 5 minutes long in the free version.
– Provides real-time editing and reaction recording.
– Offers cloud storage with easy sharing options.
Setup:
1. Add the Loom extension from the Chrome Web Store.
2. Sign up or log in to your Loom account.
3. Click the Loom icon, configure audio settings, and start recording.
Nimbus: Features and Setup
Features:
– Provides screenshot capturing along with screen recording.
– Offers a drawing tool for annotations during recordings.
– Unlimited recording in the free version, but with basic editing tools.
Setup:
1. Install the Nimbus extension from the Chrome Web Store.
2. Follow the setup instructions and grant necessary permissions.
3. Open the Nimbus tool, set up recording preferences, and begin your recording.
Optimizing Audio Quality
Ensuring high-quality audio is vital for effective screen recordings. Here are some tips to optimize audio:
- Use an External Microphone: External microphones generally offer better audio quality compared to built-in mics.
- Quiet Environment: Record in a quiet space to minimize background noise.
- Adjust Microphone Sensitivity: Go to sound settings and adjust the microphone sensitivity to detect your voice clearly without picking up too much background noise.
By following these steps, you can significantly enhance the audio quality of your screen recordings.

Editing Your Recordings
Editing your screen recordings can help you create a more polished and professional final product. Here’s how you can approach editing:
- Trim and Cut: Remove unwanted sections from the beginning or end.
- Annotations: Add text, arrows, or highlights to emphasize important points.
- Join Clips: Merge multiple clips into one for a seamless video.
Most third-party screen recording tools offer basic editing features. For advanced editing, you might consider using software like Adobe Premiere Rush or WeVideo.
Troubleshooting Common Issues
Encountering issues while screen recording can be frustrating. Here’s how to troubleshoot common problems:
- No Sound Recording:
- Ensure the microphone is enabled.
-
Check if other apps are interfering with audio recording.
-
Lags and Stutters:
- Close unnecessary applications to free up system resources.
-
Ensure your Chromebook is not overheating.
-
Storage Issues:
- Clear out unused files to make room for new recordings.
- Use external storage options like Google Drive.
Troubleshooting these common issues can help ensure a smooth recording experience.
Conclusion
Screen recording on a Chromebook with sound can be a straightforward and rewarding task when you know the right steps and tools. From utilizing built-in features to exploring third-party software, optimizing audio quality, and editing your recordings, this guide has covered everything you need to enhance your screen recording capabilities. With these tips, you’re ready to create high-quality, informative, and engaging screen recordings on your Chromebook.
Frequently Asked Questions
How do I fix audio issues while recording on a Chromebook?
Check the microphone settings in the sound menu, ensure no other apps are using the microphone, and test with an external microphone if necessary.
Are there any free screen recording apps for Chromebook?
Yes, Screencastify, Loom, and Nimbus offer free versions with basic functionalities suitable for most users.
Can I record a Chromebook screen without using third-party apps?
Certainly! Chromebooks have a built-in screen recording feature that allows you to record the screen with sound without the need for third-party applications.